"DIY Candles: A Step-by-Step Guide to Making Your Own Candles at Home"

Candle-making is a relaxing and fulfilling hobby that allows you to create beautiful, personalized candles in the comfort of your own home. In this blog, we'll show you how to make your own candles from start to finish, including the materials you'll need and step-by-step instructions.
Materials needed:
Wax:
You can choose from various types of wax, such as paraffin, beeswax, soy wax, or palm wax. Each type has its own melting point and burning characteristics, so you can experiment with different types to find the one that works best for you.

Wicks:
Wicks can be made of cotton or hemp, and come in different sizes to fit various candle jars or containers. The wick size you need will depend on the size of your candle.

Wick tabs or sustainers:
These are small metal tabs that you attach to the bottom of the wick to secure it in place.

Double boiler or a heat-resistant container:
A double boiler is the best option for melting wax, as it prevents it from overheating. If you don't have a double boiler, you can use a heat-resistant container and place it inside a pot filled with water.

Pouring pitcher:
A pouring pitcher makes it easier to pour the melted wax into the candle jar without spilling.
Thermometer:
A thermometer is used to check the temperature of the wax while it's melting. You want to keep the temperature at around 150°F.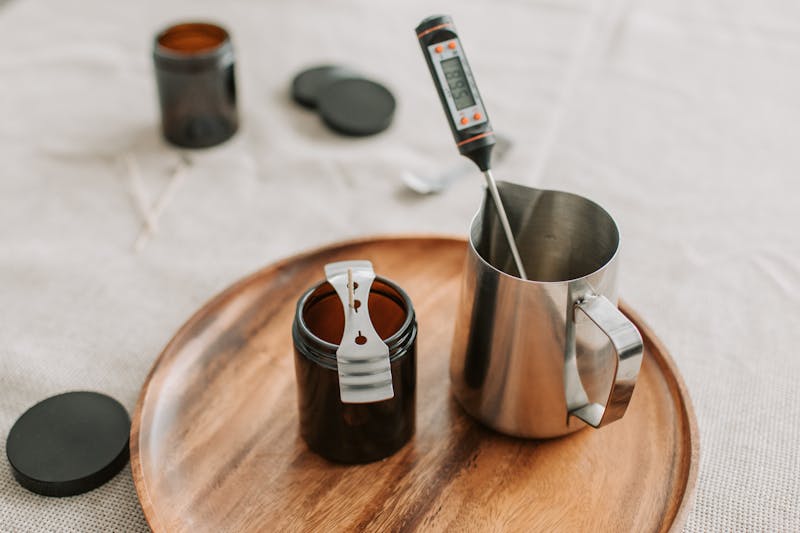
Essential oils or fragrance oils (optional):
Essential oils or fragrance oils can be added to the melted wax to give it a pleasant scent. You can use a single scent or mix multiple scents to create a unique fragrance.
Dye blocks (optional):
Dye blocks can be added to the melted wax to change its color. You can use a single color or mix multiple colors to create a custom hue.

Candle jars or containers:
You can use any type of jar or container as long as it is heat-resistant and can hold the melted wax.

Instructions:
- Melt the wax: Fill a pot with water and place a heat-resistant container inside it. Turn the heat to low and add the wax to the container. Use a thermometer to monitor the temperature of the wax as it melts. The ideal temperature is around 150°F.
- Add fragrance or essential oils and dye blocks: Once the wax has melted, add any fragrance or essential oils and dye blocks you want to use. Stir well to ensure that the scent and color are evenly distributed.
- Place the wick: Take the wick and place it in the center of the candle jar or container, making sure it is straight. Secure the wick tab or sustainer to the bottom of the jar, using hot glue or a sticky dot.
- Pour the melted wax: Using a pouring pitcher, slowly and steadily pour the melted wax into the candle jar, being careful not to disturb the wick. Fill the jar to the top or to the level you desire.
- Let the wax cool: Once the wax has been poured, let it cool completely. This will take several hours.
- Trim the wick: Once the wax has cooled and solidified, trim the wick to 1/4 inch. This will help to prevent the wick from becoming too long and smoky while burning.
- Repeat the process: Repeat the process to make additional candles.
And that's it! With these simple steps, you can make your own candles at home. Remember to use caution and follow safety guidelines when handling melted wax and heating elements. Have fun and enjoy your new hobby!


Hiç yorum yok: